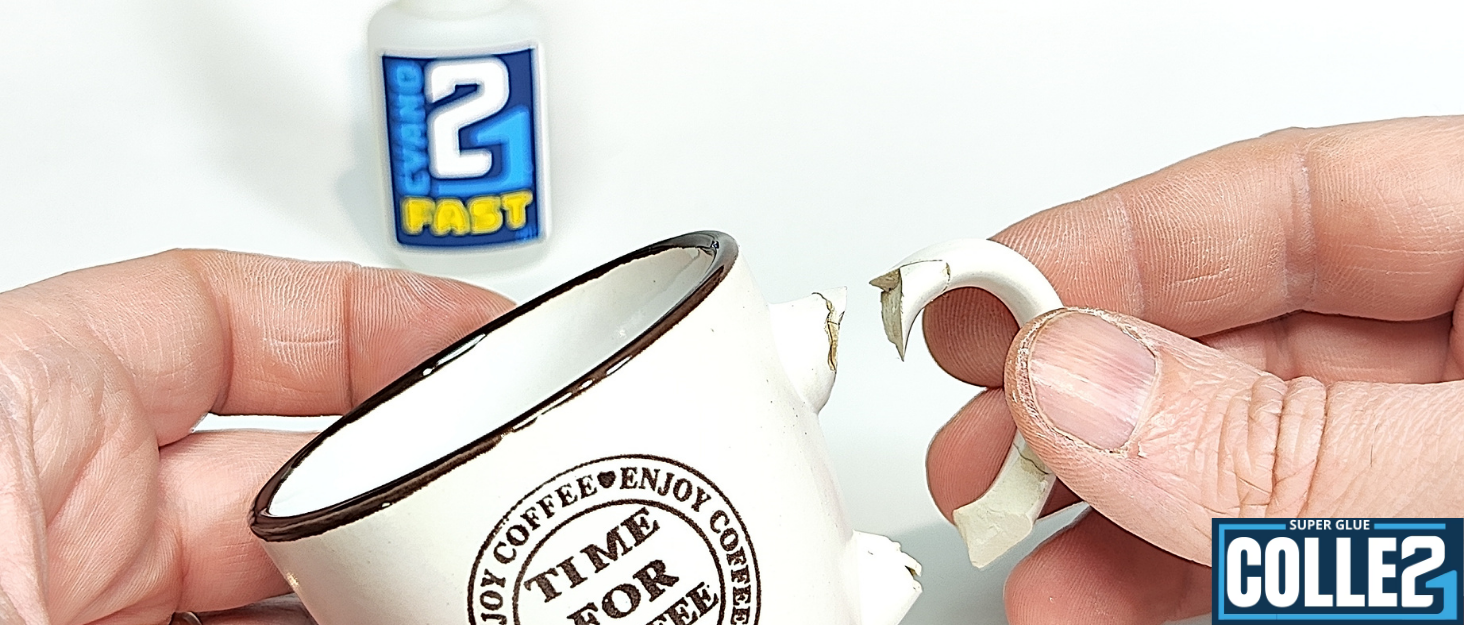
How to pick up a broken cup?
Graking a broken cup may seem like a delicate task, but with the right tools and techniques, it is possible to restore your favorite dishes in its almost original state.
Use suitable products such as Greek super glue of glue21 and the Super glue glue gel21 will not only guarantee you effective but also durable repair. Here is how to step by step to pick up a broken cup in a clean and safe manner.

Why pick up a broken cup?
Rather than throwing a broken cup, repairing it has several advantages:
-
Financial savings: Instead of buying a new cup, repair the one you have.
-
Reduced environmental impact: Less waste sent in a landfill.
-
Preserved sentimental value: Some cups have a personal or sentimental meaning.
Materials necessary to pick up a broken cup
Before you start the collage process, be sure to have the following materials:
-
Heat -resistant epoxy glue
-
Adhesive or elastic tape
-
Latex gloves
-
Newspaper or protection for the work surface
-
Isopropyl alcohol to clean surfaces
-
Knife or spatula to apply the glue
Choice of appropriate glue to pick up a broken cup
The first step in repairing a broken cup is the choice of Glue.
For ceramics, it is essential to use a strong and water -resistant glue which can support the constraints of daily use. The Colle21 products, especially the Dense glue21 and the Glue21 gel, are particularly suitable for this type of repairs.
-
Dense glue21 : With its thick consistency, this glue is ideal for sticking surfaces where you need more control and time before the hard work.
-
It is perfect for net breaks where the pieces fit well.
-
Glue21 gel : This very thick version is recommended for irregular breaks or small and delicate fragments which require a very precise application. It allows you to position the pieces without the glue flowing, which ensures a clean and neat finish.
Cup preparation
Before starting the repair, make sure that all the parts of the cup are clean and dry.
Remove all the old glue residues if the cup was previously repaired. Carefully clean the broken edges with theAcetone21 To remove any fat or dirt that could prevent good membership.

Step 1: Preparation of broken pieces
-
Gather all the pieces: Identify all the broken parts of the cup.
-
Clean the edges: Use isopropylic alcohol to eliminate any dirt or residue.
-
Dry completely: Make sure all the parts are completely dry before starting the collage.
Step 2: Application of epoxy glue
-
Mix the glue: Follow the manufacturer's instructions to mix the two components of epoxy.
-
Apply a thin layer: Use a spatula to uniformly spread the glue on the broken edges.
-
Assemble the pieces: Position each part carefully and press firmly for a few seconds.
Application of glue to pick up a broken cup
-
For the Dense glue21 : Apply a thin layer of glue to one of the broken edges. Assemble the pieces by pressing them firmly against each other. The socket is not immediate, which gives you time to perfectly adjust the pieces before the glue begins to harden.
-
For the Glue21 gel : Use the applicator To gently place the glue on the edges of the pieces. This formula is ideal for small breaks and fine fragments. The precise application makes it possible to minimize the excess glue and the overflows.
Step 3: Maintenance and drying
Once the pieces are properly aligned and glued, maintain a pressure for a few seconds to allow the glue to take initially. To speed up the drying process, you can use an activator like theActivator21 of glue21.
Apply thespray activator On the area stuck after positioning the parts.
This will immediately reduce the time to take a few seconds, allowing the glue to harden quickly and more reliable.
This accelerated treatment not only simplifies the repair process but also ensures that your cup is ready to be used much faster, while maintaining a solid and discreet repair.
Step 4: Post-repair cleaning
After the glue has hardened, check if glue excesses are visible. Use a precision knife or fine sandpaper to carefully remove any hardened glue residue. Clean the cup again with a soft cloth to remove any dust.

Tips for perfect collage
-
Use a heat resistant glue: This is particularly important if you plan to use the cup for hot drinks.
-
Check the alignment: Make sure the parts are well aligned before leaving the glue dry.
-
Remove the excess glue: Use a knife or spatula to remove any excess glue before it hardens.
FAQ: Growing a broken cup
1. Can we pick up a split cup? Yes, a slit can be repaired with epoxy glue, but it is essential to clean well and dry the surface before application.
2. What glue to use for porcelain? Bicomposing epoxy glues are ideal for porcelain, as they offer strong grip and resist heat.
3. Can we use a recolled cup to drink? It depends on the glue used. Make sure the glue is non-toxic and heat resistant.
4. How long does the glue dry completely? In general, full drying takes between 24 and 48 hours.
5. Is there a method for strengthening collage? Yes, the application of a second layer of glue once the first dry can help strengthen adhesion.
Conclusion
Having a broken cup is a task that requires precision and patience.
By choosing the Dense glue21 or the Glue21 gel, you opt for reliable and effective solutions adapted to ceramic repair. Follow these meticulously steps to ensure a lasting and aesthetic repair of your broken dishes.
We stay glued with glue21 !!